Castle ruins reward patience more than equipment. You can arrive with a good camera and leave with fifteen versions of the same gatehouse, all shot from the same spot, all slightly flat. The gap between a folder of snapshots and a set of images you actually want to look at again usually comes down to two decisions: where you stand and when you press the shutter. What follows is a working checklist of ten photographs worth making on any visit to a ruined castle, tower house or abbey, with notes on light and the small practicalities that decide whether a shoot goes well.
Arrive on Foot: The Approach and the Long View
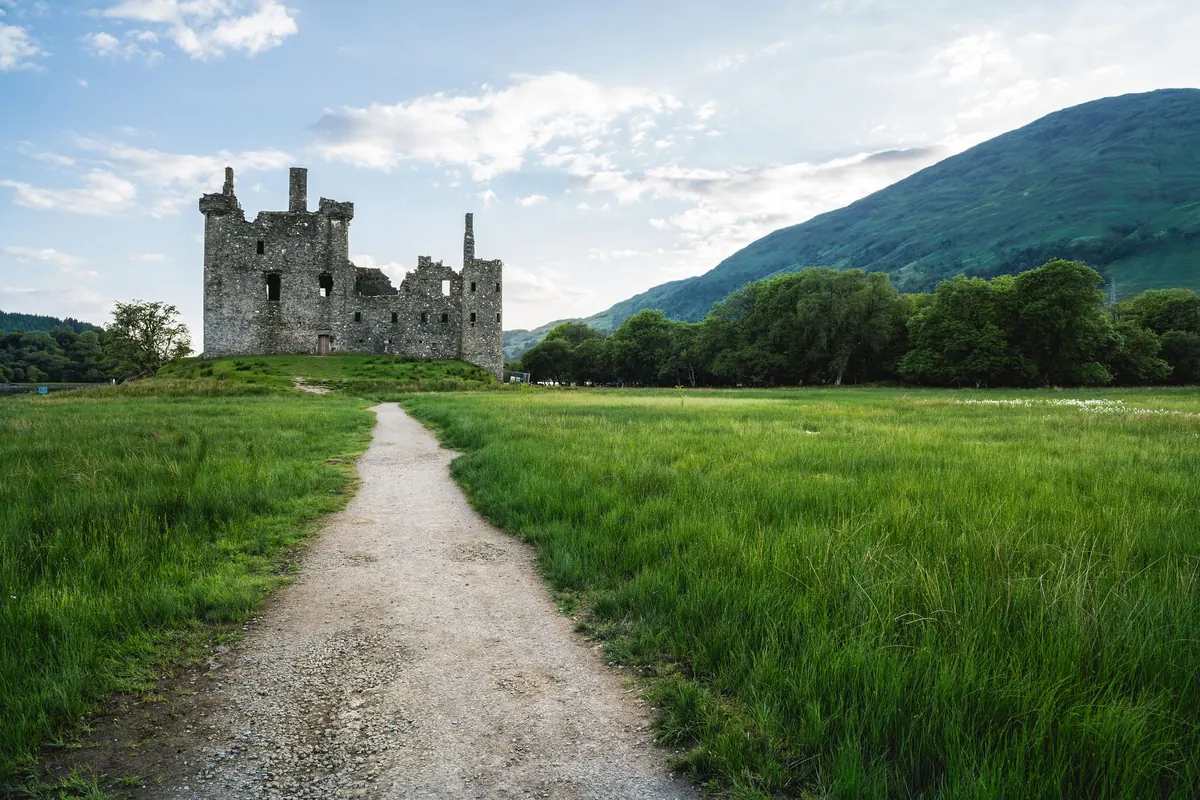
Shot one: the approach. Park further away than you need to and walk the last stretch. Ruins announce themselves slowly — down a lane, over a bridge, past a churchyard — and that arrival is part of the story. Look for a foreground that places the castle in its landscape: a hedgerow, an iron gate, a curve of road, a line of sheep. Keep the horizon level. A tilted horizon on architecture reads as a mistake, not a style.
Shot two: the long view. Step back fifty to a hundred metres and find the angle where the towers break the skyline instead of sitting against a hillside. A clean silhouette against a busy sky does more for a broken keep than any amount of close detail. A longer focal length compresses the ruin and pulls the sky in tight behind it; a wide one earns its place only if the whole complex — outer banks and ditches included — is worth showing. Earthworks are easy to overlook and they photograph beautifully in low, side-on light, when every bank and ditch turns into shadow.
Stone, Texture, and Shadow
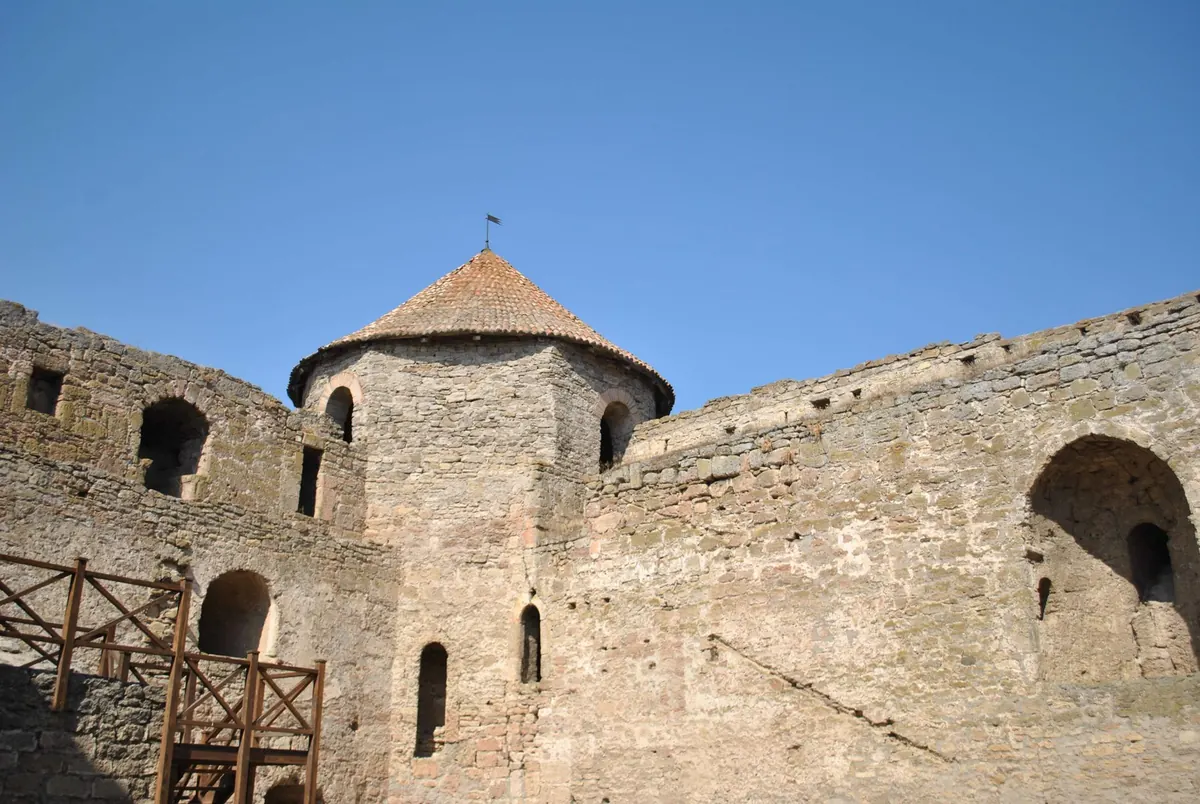
Shot three: the masonry close-up. Get within a foot or two of a stretch of collapsed wall and shoot along it rather than square-on, so the joints, flint nodules and weathered courses stack up in perspective. Raking light is the point here: a low sun skims the surface and every lump of stone throws a shadow. Under flat midday sun the same wall will look like grey porridge.
Shot four: the found detail. Hunt for the small things most visitors walk past — a carved corbel, an arrow loop, a mason's mark, the moulding around a window that no longer holds glass, a hinge pin still set in stone. Open the aperture up to blur the background and isolate the detail. Stone is bright, and bright stone blows out easily, so watch your highlights and bracket the exposure if you are unsure. Carry a cloth and wipe the front element; moss, drizzle and castle dust all turn into flare.
Arches, Windows, and Doorways as Frames
Shot five: the doorway that frames another doorway. Ruins are full of holes, and holes make excellent frames. Stand so that an arch encloses a second arch, a window, a spiral stair, or a slice of countryside beyond. Move your feet rather than zooming; a few centimetres left or right changes what sits inside the opening.
Shot six: from the inside out. Stand in the shadowed interior and shoot towards a bright doorway or window. Expose for the light and let the walls go dark, and the opening reads as a glowing shape; expose for the walls and you get a black rectangle with detail around it. Both work. Decide which one you want before you press the shutter instead of finding out at home.
Stairs, Towers, and Looking Up
Shot seven: the spiral stair. From the bottom, point the camera up and let the steps curve away into the light — a shape no straight staircase can give you. From the top, shoot down through the newel. Watch your footing: worn spiral treads are uneven, often damp, and a tripod on a narrow turn is a genuine hazard. Handhold, brace against the wall, and raise the ISO if you must.
Shot eight: the view from the wall-walk. This is the one shot you cannot get from ground level. From the top of a tower or along a stretch of intact curtain wall, shoot down into the courtyard and the whole plan of the castle appears — the hall, the kitchen range, the well, the lines of fallen walls. Tuck a corner of ruined masonry into one edge of the frame so the picture still says "castle" rather than "field from above".
Water, Weather, and Reflection
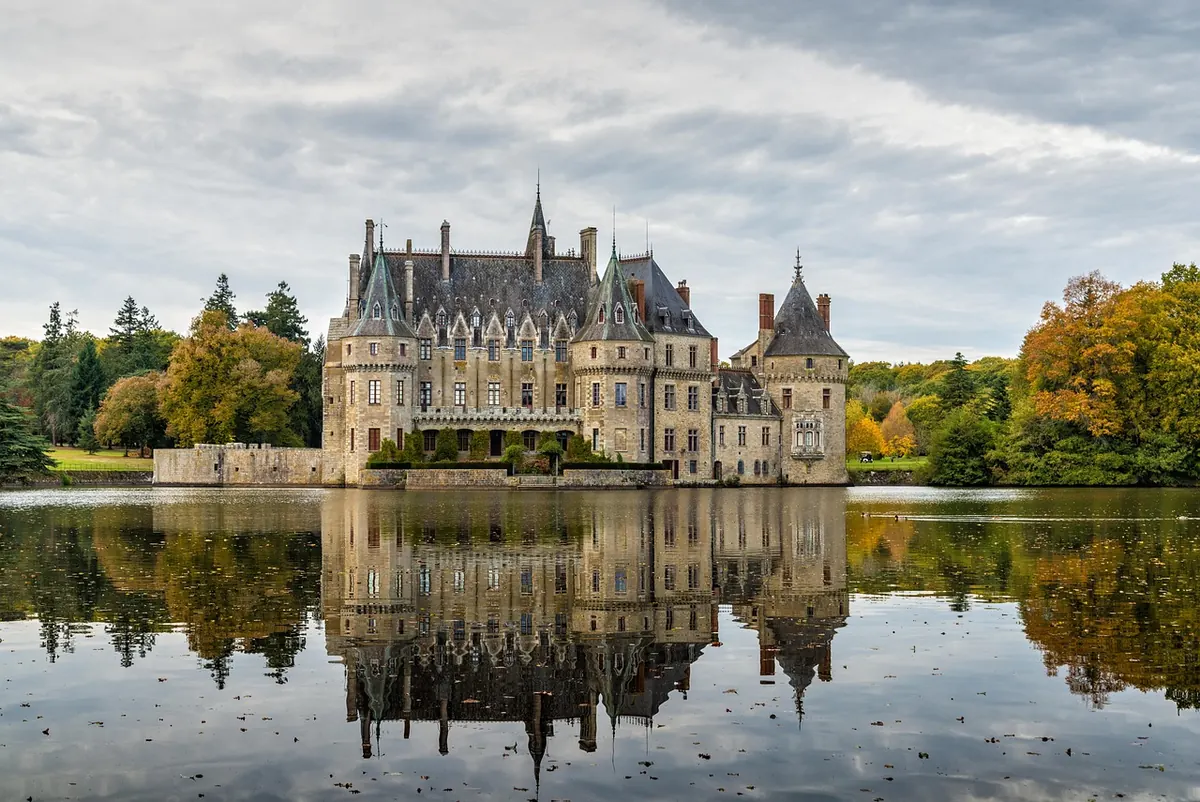
Shot nine: the reflection. Moats, flooded ditches, puddles on flagstones and rain-darkened grass all give you a second version of the building. Get the lens almost at water level — a phone resting on its side on the ground is often better than a tripod here — and include just enough of the reflected tower to read clearly. Expect to kneel, and expect wet knees.
Bad weather is not bad photography. Mist and fog erase the modern town behind the ruin and leave a tower floating in grey. Rain deepens the colour of stone and darkens the sky. If you shoot in a downpour, keep a cloth over the lens between frames and accept that some shots will be more atmosphere than information.
Scale: put someone in the frame
Shot ten: a person for scale. A figure standing in a doorway tells the viewer how tall the doorway is, and nothing else in the picture does that job as quickly. Ask a companion to walk through the shot, or wait
Photo: Magic K / Pexels